
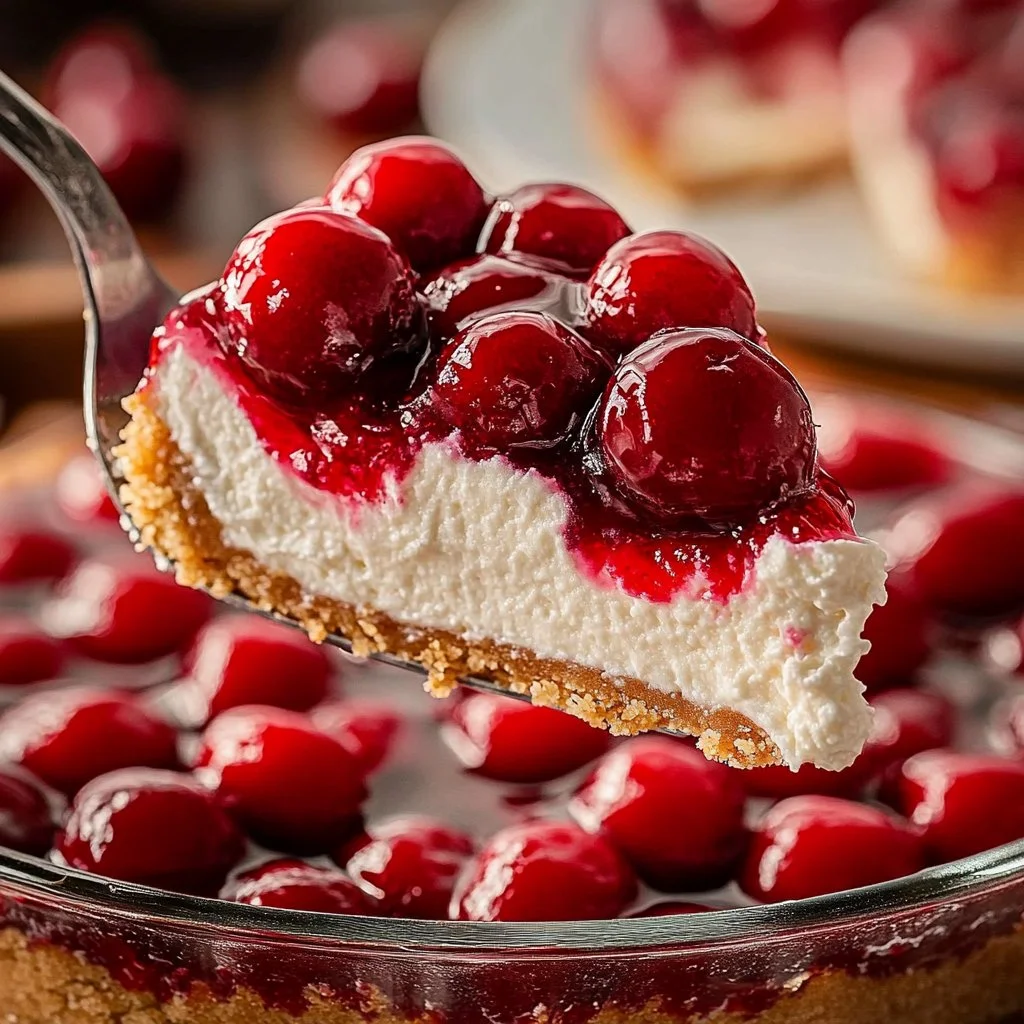
Vintage Cherries In the Snow
There’s something magical about Vintage Cherries In the Snow that evokes the spirit of cherished family gatherings and festive celebrations. This delightful no-bake dessert is an aromatic blend of creamy textures, subtle sweetness, and vibrant cherry flavor that dances on your palate. Perfect for those looking to whip up something extraordinary with minimal effort, this recipe is truly a step-by-step journey into culinary bliss. The balance of flavors and textures captures the essence of nostalgia while inviting you to indulge in every luxurious bite.
History / Fun Fact
Originating in American kitchens, Vintage Cherries In the Snow holds a beloved place in the hearts of dessert enthusiasts. The dessert is reminiscent of the classic no-bake cheesecakes that became popular in the mid to late 20th century, a time when home cooks sought simplicity without sacrificing flavor. The name symbolizes a snowy winter wonderland perfectly encapsulated by the cool, white cream layer topped with luscious cherry filling. This marriage of creamy depth and bright cherries makes this dessert a go-to for potlucks, holiday parties, and family gatherings, where every slice brings a smile.
Ingredients
To create this delightful dessert, gather the following ingredients:
For the Crust:
- 1 and 1/2 cups graham cracker crumbs: Crunchy and subtly sweet, these crumbs form the perfect base.
- 1/4 cup granulated sugar: A touch of sweetness that enhances the overall flavor.
- 1/2 cup unsalted butter, melted: This provides richness and binds the crust together beautifully.
For the Cream Cheese Filling:
- 16 ounces cream cheese, softened: Creamy and tangy, it acts as the heart of this dessert.
- 1 cup powdered sugar: This adds sweetness while maintaining that silky creaminess.
- 1 and 1/2 teaspoons vanilla extract: Aromatic and warm, vanilla elevates the filling to new heights.
- 1 cup heavy whipping cream: This ingredient lends a light, airy texture, making each bite feel luxurious.
For the Topping:
- 1 can (21 ounces) cherry pie filling: Tart, sweet, and eye-catching, making it the centerpiece of this dessert.
Every bite of Vintage Cherries In the Snow brings together rich creaminess, crunchy crust, and the vibrant essence of cherries, making it a decadent treat you’ll crave again and again.
Cooking Time & Tips For Vintage Cherries In the Snow
When it comes to preparing this dessert, you have two options: a quick version or a more leisurely approach. For those short on time, you can complete your delicious creation in about 30 minutes and refrigerate it for a minimum of four hours. However, if time allows, letting it chill overnight will deepen the flavors and enhance the overall experience.
Practical Tips for Success:
- Use softened cream cheese to avoid lumps in your filling; let it sit at room temperature for about an hour before starting.
- When whipping the cream, be sure to stop when stiff peaks form to maintain that airy consistency without over-whipping.
- Allow ample time for chilling to ensure the layers set perfectly and achieve that delightful “snowy” appearance.
Step-by-Step Directions
Prepare the Crust: In a medium bowl, combine graham cracker crumbs, granulated sugar, and melted butter. Mix until everything is well combined and crumbly. Press this mixture firmly into the bottom of a 9×13 inch dish to create an even crust. Pop it into the fridge while you prepare the filling.
Make the Cream Filling: In a large bowl, beat the softened cream cheese with powdered sugar and vanilla extract until the mixture transforms into a smooth and creamy texture. The aroma will fill your kitchen with warmth and sweetness.
Whip the Cream: In a separate bowl, whip the heavy cream until it forms stiff peaks. This step adds an airy volume to the dessert, making it feel indulging yet light.
Combine the Mixtures: Gently fold the whipped cream into the cream cheese mixture. Use a spatula and take your time; you want to blend them without deflating that precious whipped cream layer.
Assemble the Dessert: Spread the cream mixture evenly over the chilled crust. The fluffy cream layer should sit like a snowy blanket over a hill.
Top it Off: Carefully spoon the cherry pie filling over the cream layer. Take care not to press or swirl it in; the goal is to keep those beautiful layers distinct.
Chill and Serve: Cover the dessert and refrigerate it for at least 4 hours, or ideally overnight. When you’re ready to serve, slice into generous squares, and enjoy each chilled bite bursting with flavor.
Serving Suggestions & Occasions
Vintage Cherries In the Snow is perfect for a variety of occasions! Serve it during holiday gatherings, BBQ parties, or casual dinners with family and friends. It pairs beautifully with a cup of coffee or a chilled glass of herbal iced tea. For a delightful presentation, garnish each slice with a dollop of whipped cream or a sprig of mint.
This dessert is also fantastic for potluck events—its striking appearance and irresistible flavors ensure it will be a hit among guests.
Common Mistakes For Vintage Cherries In the Snow
One common mistake when making Vintage Cherries In the Snow is overmixing the whipped cream. This can lead to a dense filling instead of the light and airy texture desired.
Another pitfall is not allowing the crust to chill properly before adding the filling, which may lead to a soggy base. Ensuring each layer is allowed the proper time in the fridge will yield the best results.
Healthier Alternatives & Variations
Looking to tweak this classic recipe? Here are some healthier alternatives and variations:
- Graham Cracker Crust Alternatives: Substitute whole-grain or almond flour for a gluten-free option or use crushed nuts for a lower-carb version.
- Cream Cheese Substitutes: For a lighter version, opt for Neufchâtel cheese or a dairy-free cream cheese alternative.
- Whipping Cream Alternatives: Use coconut cream for a dairy-free twist and an exotic flavor.
- Fruit Variations: Try substituting the cherry pie filling with other fruits, like blueberries or mixed berries, for a new take on this classic dessert.
FAQs
Can I make Vintage Cherries In the Snow ahead of time?
Yes! This dessert can be made a day in advance. It’s best when allowed to chill overnight.How long can I store leftovers?
Keep the dessert covered in the refrigerator for up to 3-4 days.Is there a vegan version of this recipe?
Yes! You can replace cream cheese with a plant-based alternative and use coconut or almond whipped cream.Can I use fresh cherries instead of canned?
Absolutely! Just ensure to prepare the cherries with a bit of sugar if they aren’t sweet enough.What if I don’t have graham crackers?
You can substitute them with digestive biscuits or crumbled shortbread cookies.How do I know when the whipped cream is perfect?
Check for stiff peaks – this means the cream holds its shape without being grainy.
Conclusion
The moment you take a bite of Vintage Cherries In the Snow, you’ll understand why it has enchanted dessert lovers for generations. Its creamy layers, sweet cherry topping, and crunchy base create a symphony of textures and flavors that is simply irresistible. Whether you’re preparing it for a festive celebration or a casual gathering, this no-bake dessert is sure to leave your guests in awe. Try it today and indulge in a slice of nostalgia!
Vintage Cherries In the Snow
Ingredients
Method
- In a medium bowl, combine graham cracker crumbs, granulated sugar, and melted butter. Mix until everything is well combined and crumbly. Press this mixture firmly into the bottom of a 9×13 inch dish to create an even crust. Pop it into the fridge while you prepare the filling.
- In a large bowl, beat the softened cream cheese with powdered sugar and vanilla extract until the mixture transforms into a smooth and creamy texture.
- In a separate bowl, whip the heavy cream until it forms stiff peaks.
- Gently fold the whipped cream into the cream cheese mixture.
- Spread the cream mixture evenly over the chilled crust.
- Carefully spoon the cherry pie filling over the cream layer. Take care not to press or swirl it in.
- Cover the dessert and refrigerate it for at least 4 hours, or ideally overnight.
