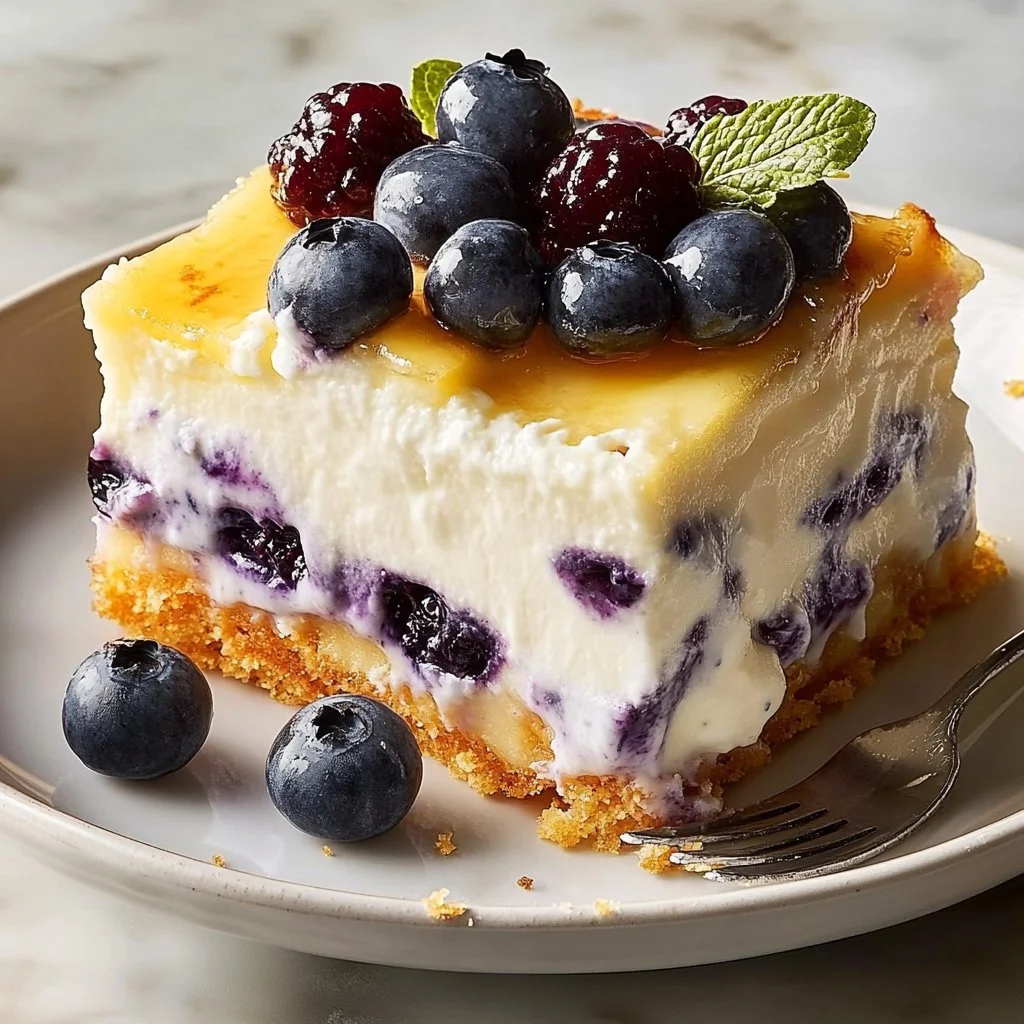
Peanut Butter & Jelly Cake
Peanut Butter & Jelly Cake is a delightful twist on the classic childhood favorite. Imagine a moist and flavorful cake infused with the rich taste of creamy peanut butter, balanced by the sweet and fruity punch of jelly. This recipe captures the nostalgic essence of your favorite sandwich, transforming it into a dessert that’s perfect for gatherings, celebrations, or simply enjoying at home. Whether you’re a veteran baker or a novice, this step-by-step guide ensures that you will create a delicious cake that will have everyone asking for seconds. It’s worth making for its simplicity and flavor!
Why You’ll Love This Recipe
This Peanut Butter & Jelly Cake comes together quickly, making it ideal for both busy weeknights and leisurely weekends. The prep requires minimal ingredients, so you won’t have to spend hours in the kitchen. It’s a family-friendly recipe, appealing to both children and adults, and can easily be customized with your favorite jelly flavor. Plus, it’s a unique dessert that’s sure to impress your guests. After all, who can resist a moist cake that celebrates two beloved spreads?
Ingredients for Peanut Butter & Jelly Cake
To create this scrumptious Peanut Butter & Jelly Cake, you will need:
- 2 cups all-purpose flour
- 1 cup granulated sugar
- 2 tsp baking powder
- 1/2 tsp salt
- 3 large eggs
- 1 cup whole milk
- 1 cup creamy peanut butter
- 1/2 cup jelly (your choice of flavor, such as grape, raspberry, or strawberry)
- 2 tsp vanilla extract
These ingredients combine to create a tender, flavorful cake that truly embodies the PB&J experience.
Step-by-Step Directions
Preheat Your Oven: Begin by preheating your oven to 350°F (175°C). Prepare two 9-inch round cake pans by greasing and dusting them with flour to ensure easy release after baking.
Mix Dry Ingredients: In a large bowl, whisk together the flour, sugar, baking powder, and salt. This helps ensure that the leavening agent is evenly distributed, leading to a light and fluffy cake.
Prepare Wet Ingredients: In another bowl, beat together the eggs, milk, peanut butter, and vanilla extract until the mixture is smooth and creamy. The peanut butter will lend its rich flavor and moist texture to the cake.
Combine Ingredients: Gradually add the wet mixture to the dry ingredients, mixing gently until just combined. Be careful not to overmix, as this can lead to a dense cake.
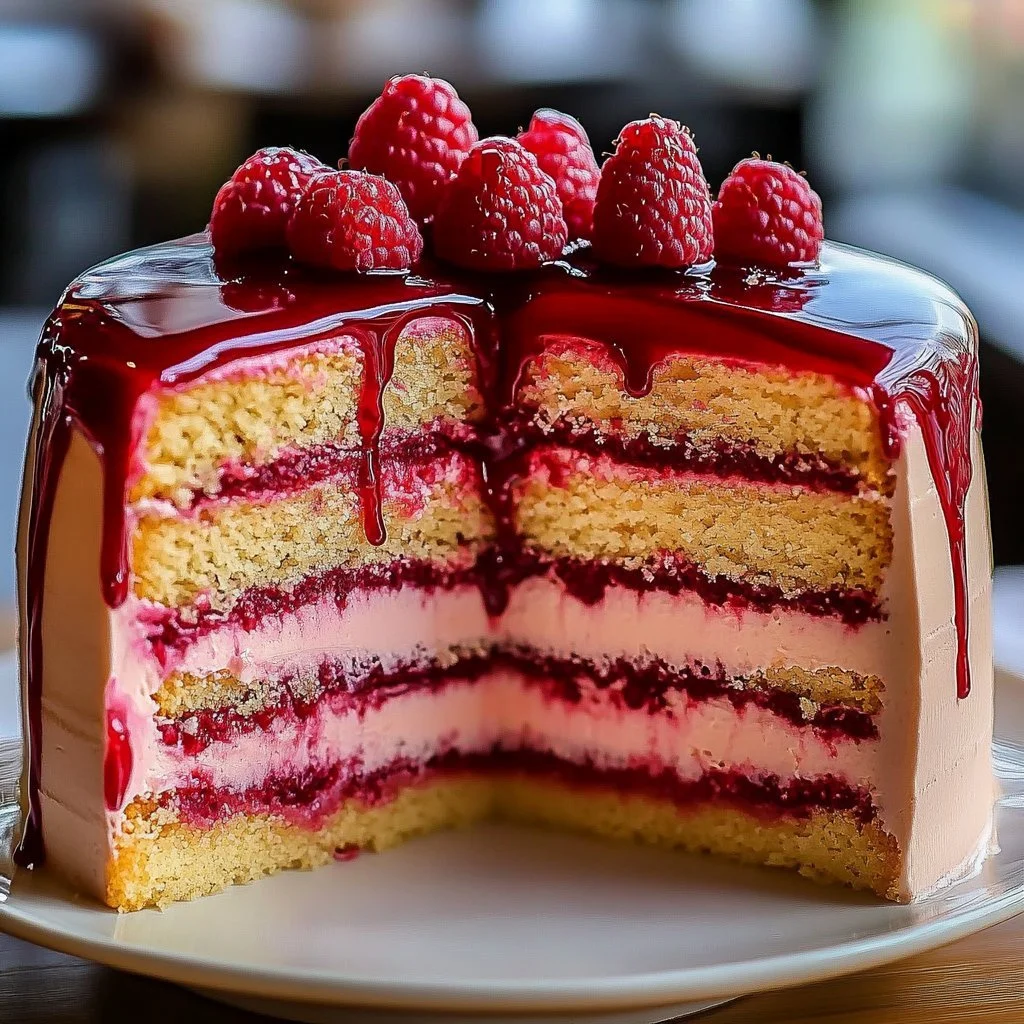
Add Jelly: Fold in half of the jelly into the batter, creating a delightful swirl. This step infuses the cake with flavor while giving it a visually appealing marbling.
Bake the Cake: Divide the batter evenly between the prepared pans and bake for 25-30 minutes. Check for doneness by inserting a toothpick into the center; it should come out clean.
Cool & Frost: Allow the cakes to cool completely in the pans before inverting them onto a wire rack. Once cooled, frost with a luscious peanut butter frosting and spread additional jelly over the top for that classic touch.
Tips & Tricks
- Mix-Ins: You might consider adding chocolate chips or chopped nuts for extra texture and flavor if you want a twist on the recipe.
- Baking Pans: Ensuring that the pans are well-greased and floured is essential to preventing sticking, which can ruin the look of your cake.
- Layered Delight: For a more dramatic presentation, you can stack multiple layers and frost between them, creating a tiered cake.
- Flavor Variations: Experiment with different types of jelly or use a mixed berry preserve for a delightful fruity surprise.
- Stay Cool: While frosting, make sure the cakes are completely cooled to avoid melting the frosting or creating a mess.
Serving Suggestions & Pairings
Present your Peanut Butter & Jelly Cake on a colorful cake stand, garnished with fresh berries or a sprinkling of crushed peanuts for added flair. Serve it alongside a glass of cold milk or a scoop of vanilla ice cream for an irresistible dessert experience. For the adults, consider pairing it with a cup of rich coffee or a frappuccino.
Nutritional Information
This Peanut Butter & Jelly Cake is a delightful indulgence. A single slice (1/12 of the cake) contains approximately:
- Calories: 300
- Total Fat: 15g
- Saturated Fat: 3g
- Cholesterol: 50mg
- Sodium: 200mg
- Total Carbohydrates: 36g
- Dietary Fiber: 1g
- Sugars: 12g
- Protein: 6g
It’s a treat that strikes a balance between sweet and savory; remember to enjoy it in moderation!
Storing Tips & Variations for Peanut Butter & Jelly Cake
To keep your Peanut Butter & Jelly Cake fresh, store it in an airtight container at room temperature for up to 3 days. If you would like to preserve it for a longer time, consider freezing it. Simply wrap the cooled cake layers tightly in plastic wrap followed by aluminum foil and freeze for up to 2 months. To reheat, simply let it thaw at room temperature and then frost it as desired.
For healthier variations, you can substitute half of the all-purpose flour with whole wheat flour or use a natural sweetener instead of granulated sugar. Honey or maple syrup can also be great alternatives.
Conclusion for Peanut Butter & Jelly Cake
Don’t hesitate any longer; it’s time to embark on your baking adventure and create the charming Peanut Butter & Jelly Cake! With its simple ingredients and heartfelt flavors, it’s bound to become a new family favorite. Your loved ones will appreciate the effort, and the smiles you receive when serving this cake will be worth every minute in the kitchen. So gather your ingredients and get ready for a delicious experience!
FAQs
Can I use crunchy peanut butter instead of creamy?
Absolutely! Using crunchy peanut butter will add a nice texture to the cake, making it even more delightful.What type of jelly should I use?
You can choose any flavor you like! Grape, raspberry, or strawberry are classic options, but feel free to experiment with your favorites.Can I make this cake ahead of time?
Yes! You can bake the cake layers in advance and store them in the fridge or freezer. Just frost them when you’re ready to serve.How should I store leftover cake?
Keep leftovers in an airtight container at room temperature for up to 3 days or refrigerate for up to a week.Can I turn this into cupcakes?
Yes, you can! Divide the batter among a lined cupcake tin and bake for about 18-20 minutes or until a toothpick comes out clean.

Peanut Butter & Jelly Cake
Ingredients
Method
- Preheat your oven to 350°F (175°C). Prepare two 9-inch round cake pans by greasing and dusting them with flour.
- In a large bowl, whisk together the flour, sugar, baking powder, and salt.
- In another bowl, beat together the eggs, milk, peanut butter, and vanilla extract until the mixture is smooth and creamy.
- Gradually add the wet mixture to the dry ingredients, mixing gently until just combined.
- Fold in half of the jelly into the batter to create a swirl.
- Divide the batter evenly between the prepared pans and bake for 25-30 minutes, checking for doneness with a toothpick.
- Allow the cakes to cool completely in the pans before inverting them onto a wire rack.
- Once cooled, frost with a peanut butter frosting and spread additional jelly over the top.